
See the Discord result
A fictional example based on GuildPilot's current behaviour. Nothing is sent to Discord.
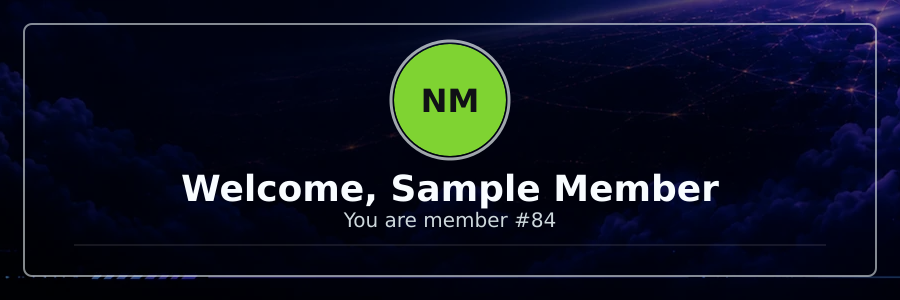
Sample Member joined the server — welcome!
Welcome @sample-member to Nightfall Community! You are member #84.
How to set up welcome messages with GuildPilot
Welcome messages give new members a clear first step and can include a branded card. GuildPilot provides a live preview so you can check the message, member placeholders and background before enabling delivery.
Before you start
- GuildPilot must be installed and able to view and send messages in the destination channel.
- Server Members Intent must be enabled for the active GuildPilot bot so member joins are delivered.
- Prepare a JPG, PNG or WebP background under 5 MB only if you want a custom card image.
Warning: Use fictional names in test copy and avoid putting private member information into a public welcome channel.
Set up welcome messages
1. Open Welcome
From Your Discord servers, open the intended server and select Welcome in the sidebar.
2. Choose the destination
Under Destination, select the Welcome channel. Choose a text channel where new members are allowed to read the message.
3. Write the plain message
Under Message, edit Plain message. Insert the provided placeholders for values such as the member nickname, server name, member count or account creation date. The default begins with Welcome, {nick}!.
4. Configure the optional card
Under Card, turn on Send welcome card if required. Choose Background photo or Use image URL, set Show frame, then edit First line and Second line. The live card reflects your changes before saving.
5. Enable and save
Turn on Enable welcome messages, confirm the preview, then select Save changes. If the card is disabled, only the plain message is sent.
Recommended configuration
Keep the plain message useful without the image so members using reduced media settings still receive the main instruction. Use the first line for the welcome and the second for one short piece of context.
Test the setup
- Use a test Discord account that is not currently in the server.
- Join the server with that account.
- Confirm that the selected channel receives the plain message and, when enabled, the rendered card.
- Remove the test account and its welcome message if your server policy requires cleanup.
What a successful setup looks like
Every new member produces one welcome message in the saved channel. The placeholders resolve to the joining member and server, and the Discord card matches the saved preview.
Common problems
No message appears when a member joins
Cause: Welcome is disabled, the active bot lacks Server Members Intent, or it cannot send to the selected channel.
Fix: Check Enable welcome messages, enable the intent for the active bot, and verify the channel permissions.
The background does not load
Cause: The upload is not JPG, PNG or WebP, exceeds 5 MB, or an image URL is unavailable.
Fix: Upload a supported image under 5 MB or use a direct HTTPS image URL, then confirm the live preview before saving.
A placeholder appears as typed text
Cause: The placeholder name is unsupported or was changed.
Fix: Insert one of the placeholders shown beside the field instead of typing a new name.